The Scalloped Blanket stitch adds texture
and is easy to do...
but, I recently received over 2 dozen requests
of where to find directions for this stitch !
A "How To / Tutorial" for the
Scalloped Blanket stitch...
Gather your supplies...
sharp needle, thread and scissors.
I am often asked, "How do you hide your knots ?"
In between the layers !
Starting between layers of fabric,
bring thread to the underside of fabric.
bring thread to the underside of fabric.
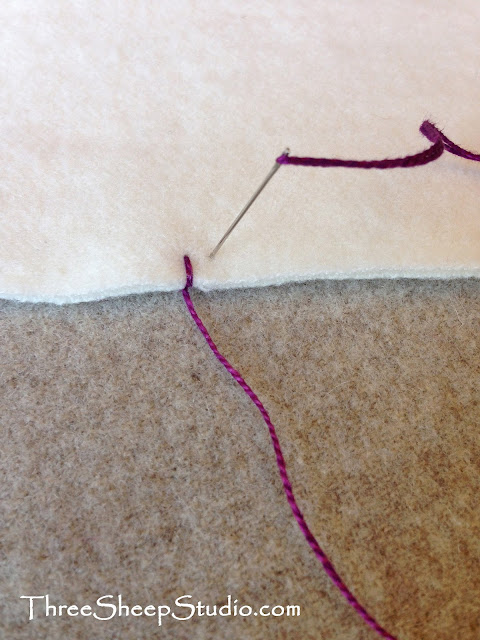
Bring the needle to the front and make a stitch,
taking needle to the back or underside of fabric.
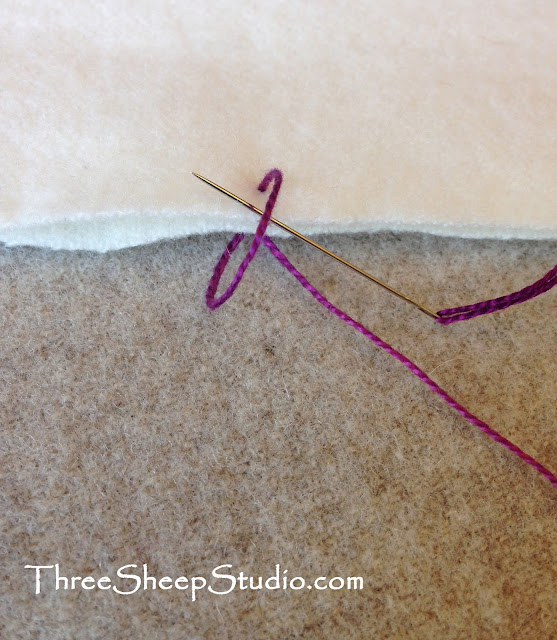
As you pull the thread through it will form a small loop.
Slide your needle through this loop.
Pull snugly, but not so snugly that
it distorts the fabric.
Repeat this pattern.
(This is the Blanket Stitch)
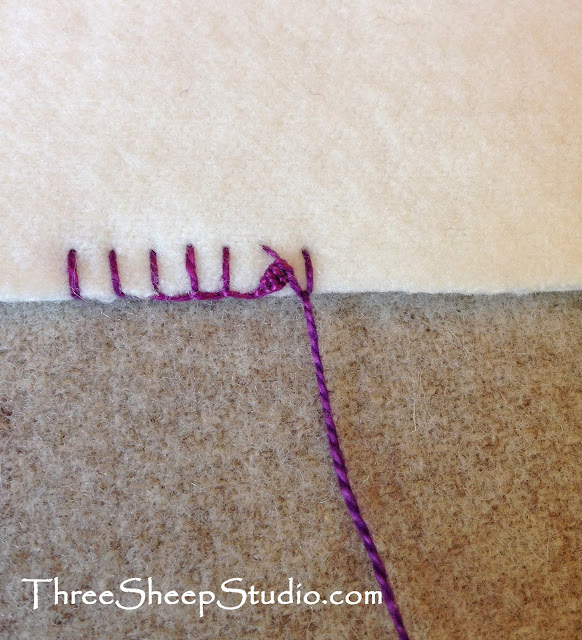
Continue to make evenly spaced stitches.
Regular Blanket Stitch
To do the Scalloped Blanket Stitch...
you will first do a Blanket Stitch and then you
will slide the needle through the stitch, as shown.
Keep the thread under the needle tip.
Gently pull the thread through until it is sitting nicely
on previous thread. Repeat this process four times
to create a scallop.
Make another Blanket Stitch.
(Completed Blanket Stitch)
Repeat process on each Blanket Stitch...
sliding the needle through the blanket stitch,
as shown, pulling the thread until it sits
nicely on previous thread. Do this four times,
keeping the thread under the needle tip
each time.
sliding the needle through the blanket stitch,
as shown, pulling the thread until it sits
nicely on previous thread. Do this four times,
keeping the thread under the needle tip
each time.
I doesn't take long to form a scalloped row of stitches.
When you are ready to end...
take needle between the two fabrics.
Knot securely between the fabrics.
Bring thread to the back of fabric,
directly beside a stitch.
Take needle 'over and under' a couple
threads (stitches) on back.
After doing so, snip thread close to fabric.
The Scalloped Blanket Stitch
Enjoy your evening. ;)
Rose
Rose


