Wool Applique
Stem Stitch ? No.
Sometimes, I just want a little more texture
in my stitching. Nothing fancy...
something simple and easy.
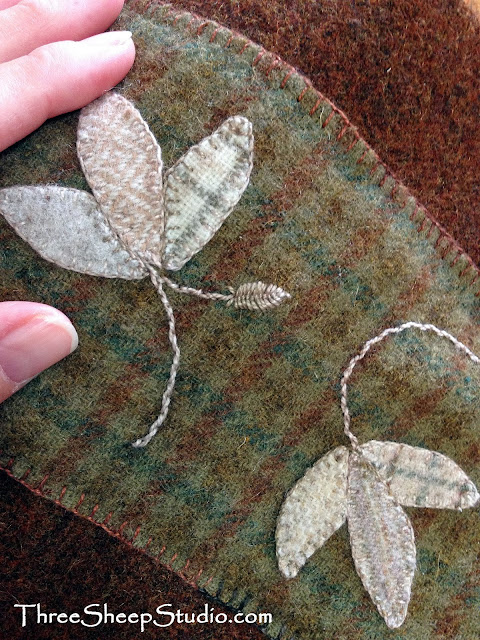
I chose to do an Interlaced Back Stitch
for the stems on my Table Runner.
Want to see how easy it is ?
Interlaced Back Stitch
Start with a simple line of Back Stitch.
Bring needle directly up beside the first Back Stitch.
Slide needle, right to left, under the next Back Stitch.
(Do not pierce the fabric,
except to begin the stitch and to end the stitch.
Interlacing goes directly
under stitches, not to the back of fabric.)
Repeat with next Back Stitch,
going left to right, this time.
Keep repeating this process,
moving up your line of Back Stitches.
When you reach the end of your line of Back Stitch,
you can either end the interlacing,
(as I did for my stems),
or continue down the opposite side,
in the same manner.
The top half of this line of Back Stitch,
shows interlacing on both sides of the Back Stitch.
The finished look resembles a dashed line connected
with tiny circles.
The bottom half of this line of Back Stitch,
shows interlacing on only one side of the Back Stitch.
The leaf stems on my wool Table Runner use a
'half' Interlaced Back Stitch.
This gives the stems texture,
without the small circles, which I didn't want.
Have a wonderful Friday, my friends !
Rose


