How To Applique With Wool Series - Part 1 (With Free Pattern)


Wool Applique...
This Series will walk you through the steps
of appliqueing with wool.


I have designed a Paisley Pattern to work on in this series. 
If you would like to work on this same free Pattern you can get it here. 


Begin by cutting out your pattern pieces.


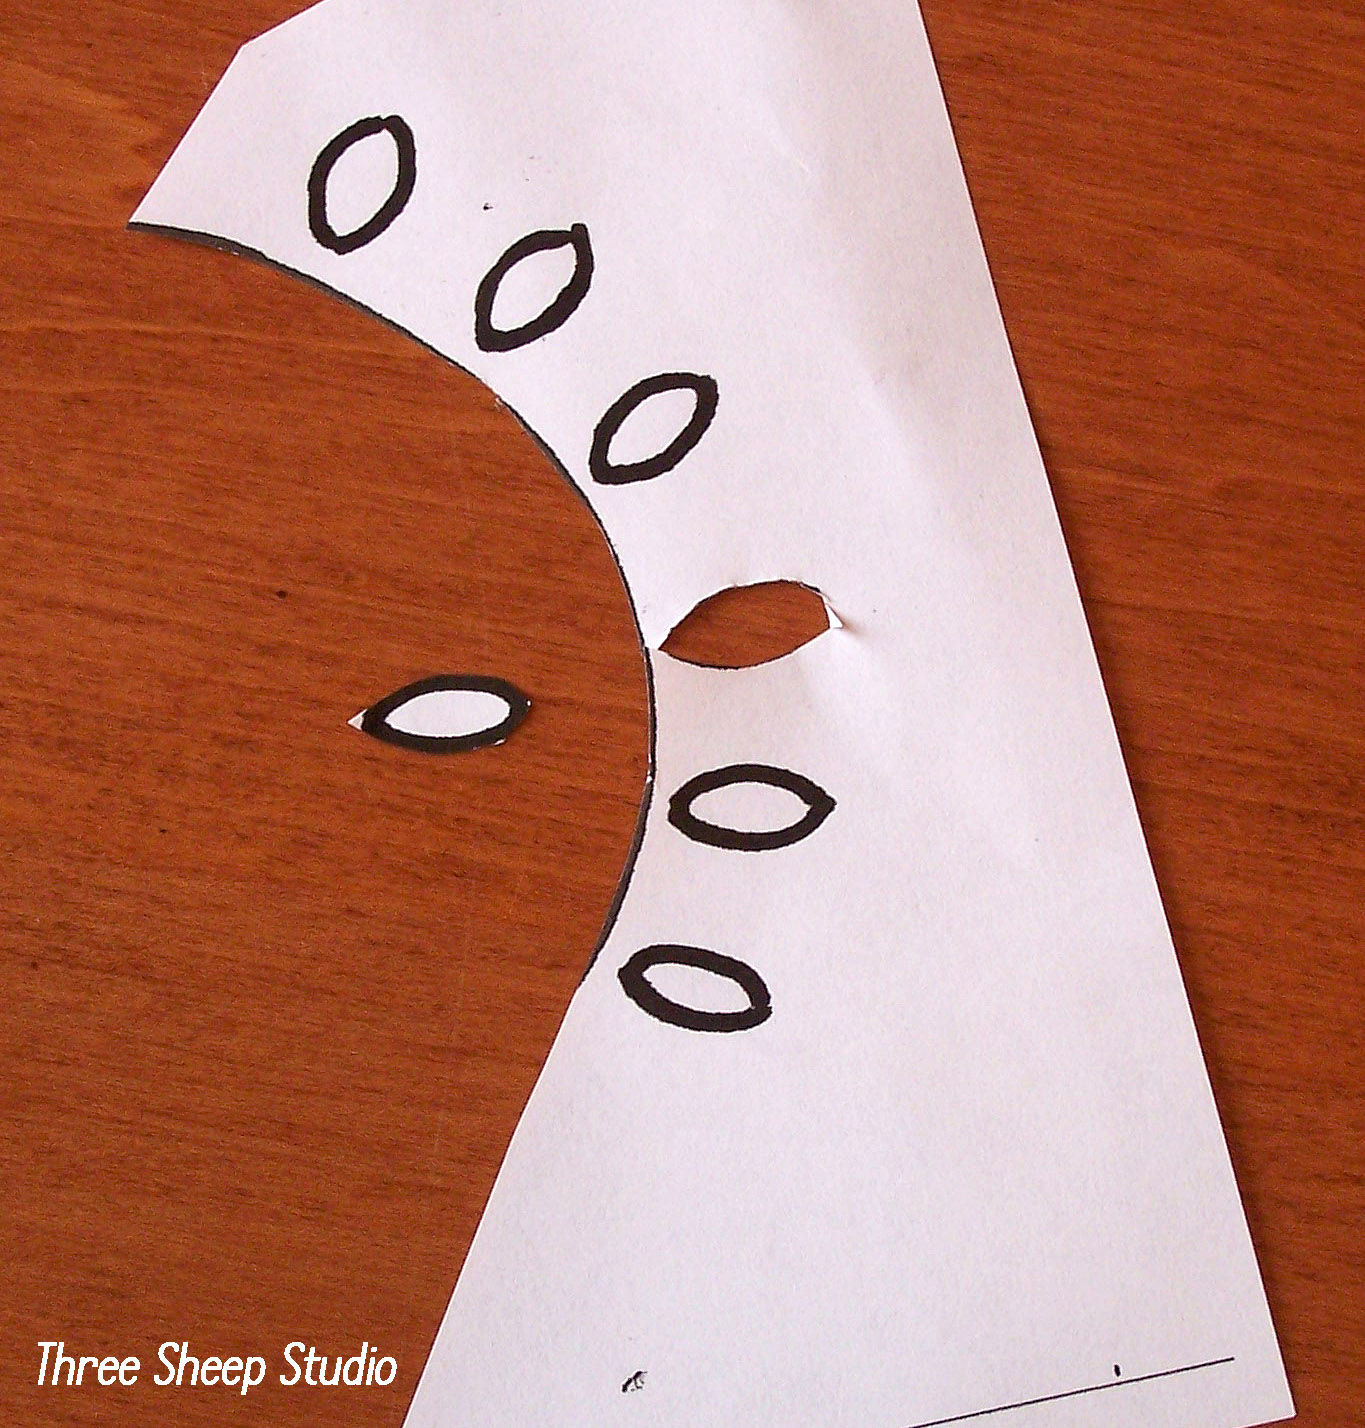
When there are multiple pieces that are all the same size,
I will cut out only one and work with the one pattern piece
to cut the number of fabric pieces needed.


I mark a bag to store the pieces in,
simply to keep them together, due to some of the pieces being small.


Begin choosing your wool.
You will need a 9in. x 9in. or a 10in. x 10in.
(22.86cm x 22.86cm or 25.40cm x 25.40cm)
wool block for the background. 
This is the wool you will applique your design onto.
If you need a wool background, I have them available in my Studio.

I have chosen a Flint Herringbone. 
I already know I want to assemble my design in bright colors - 
choosing a neutral / lighter background will not compete
with my paisley design.
If you want your design in darker colors,
then choose a lighter background or vise versa.
This will give your design more visual impact.


Once your background is chosen, begin assembling a few colors for the paisley design. This is a perfect use for your wool scraps.  Some of the pieces will need to be larger, but there are many pieces that you only need a snippet of color.

Remember to use wool that has been felted.
Felting tightens the fibers and limits or prevents fraying of the wool fabric.  Not sure how to felt wool ??  Find out here.
__________________________

NEXT:  How to Applique With Wool Series - Part 2
We will review how to trim, shape and piece your design.


( For remaining Series:


6 comments:

  1. Oh....this is going to be fun!

    ReplyDelete
  2. That is such a great idea. Thanks for the tutorial!

    ReplyDelete
  3. That looks so lovely! Thank you for sharing at SHOW-licious Craft Showcase! http://sew-licious.blogspot.com/search/label/craftshowcase

    ReplyDelete
  4. Inspired by your site, I tried doing applique on wool using felt. It came out pretty well, but I have a question about how to keep the background taut.

    I used regular (unfelted) wool for the background, and purchased wool felt (it;s thicker than my background fabric) and cotton embroidery floss. I didn't use an embroidery hoop, just laid it flat on the table and sewed. Then ironed the whole thing and hung it on a dowel (made an opening at the top when turning under all edges of the background wool). I'm finding that once hung on the wall, the background is looking a little wrinkly :( It is hard to iron it properly once the felt is on, since the iron rests on the thicker parts where the felt is and doesn't get inbetween. But also I am wondering if it's because of the tension I used to sew, and/or because the background shouldn't be thinner than the applique'd fabric?

    Any idea?

    Thanks,
    Kaira

    ReplyDelete
  5. Question about background fabric: I recently tried applique of felt on regular thickness wool fabric (unfelted: I simply turned up the edges), and I'm seeing a bit of pulling or puckering. Is it because my felt is denser than the background fabric?

    Does the applique fabric need to be of the same thickness/density as the background or lighter, I am now realizing?

    On the other hand people seem to do felt on cotton; works because they use sturdy cotton? Or they put it in an embroidery hoop and it stays in it like in a frame, so I guess the tension makes a difference?

    Thanks! Lots of inspiration your blog!!!

    Kaira

    ReplyDelete
  6. Kaira, Please send me your email so that I can reply directly to you ;)
    Rose

    ReplyDelete